
What is a Cycle Count?
A cycle count is an inventory auditing process where a set of inventory within a specific location is counted on a specific day.
Cycle counts are less disruptive than a full physical inventory count as the operations do not have to be stopped at a given time. Cycle counts are less disruptive to daily operations, provide an ongoing measure of inventory accuracy and procedure execution, and can be tailored to focus on items with higher value, higher movement volume, or that are critical to business processes.
The purpose of cycle counting is to verify the inventory accuracy and even though it is not an adequate procedure to be used to correct inventory errors, it is an adequate way to identify the root causes of inventory errors.
Overview
- Locations
- Pre-Cycle Count Recommendations
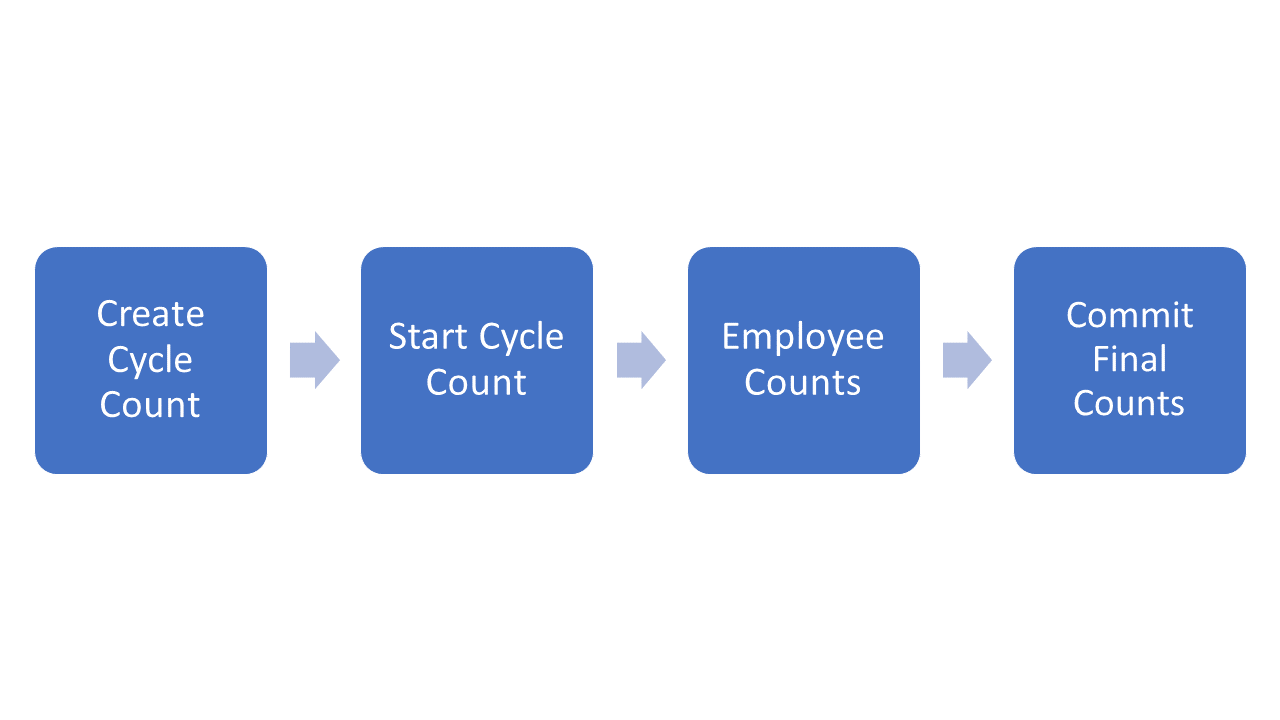
- Step 1 - Create a Cycle Count Sheet
- Step 2 - Start Cycle Count
- Step 3 - View Employee Counts
- Step 4 - Commit Final Counts
- How to View Current Cycle Count Sheets
- Clearing a Count Sheet
Locations

- Inventory > Cycle Count
Pre-Cycle Count Recommendations
Inventory Value Report
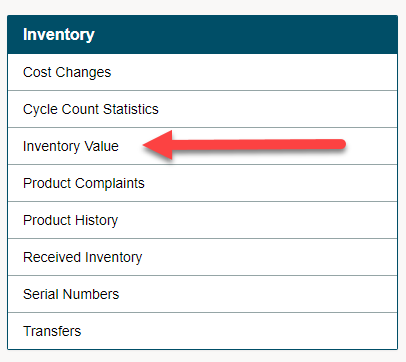
It is recommended that prior to performing a cycle count you run the Inventory Value Report found on the upper right side of the Reports page.
Hardware
- Print out cycle count sheets
- Allow employees to use blue tooth scanners, tablets or set up computers that they can commit their counted products on
Step 1 - Create a Cycle Count Sheet

- Inventory > Cycle Count > Create a Worksheet
- Fill out and adjust the details of the products that you would like to count (see below)
- Finish by clicking on the [Commit] button
|
Selection |
Overview |
|
Location |
At which location will your team be performing a cycle count |
|
Vendor |
Will your team be counting product for only a select vendor? If not leave all 'all'. |
|
Department |
Will your team be counting all products in a department? |
|
Category |
Will your team be counting all products in a category? |
|
Class |
Will your team be counting all products in a product class? |
|
Dollar Volume Rank |
- |
|
Unit Volume Rank |
- |
|
Quantity Filter |
Where the Quantity is (Greater Than, Less Than, Equal To, Not Equal To) |
Full Inventory Count
- If you are doing a complete inventory count you can select the Location and leave all other settings as defaults. This will freeze and create a count shet for your entire inventory for the selected location.
Partial Inventory Count
- Partial counts can be performed by utilizing the filters to create a limited cycle count of a specific Department as an example
Ready For Counting
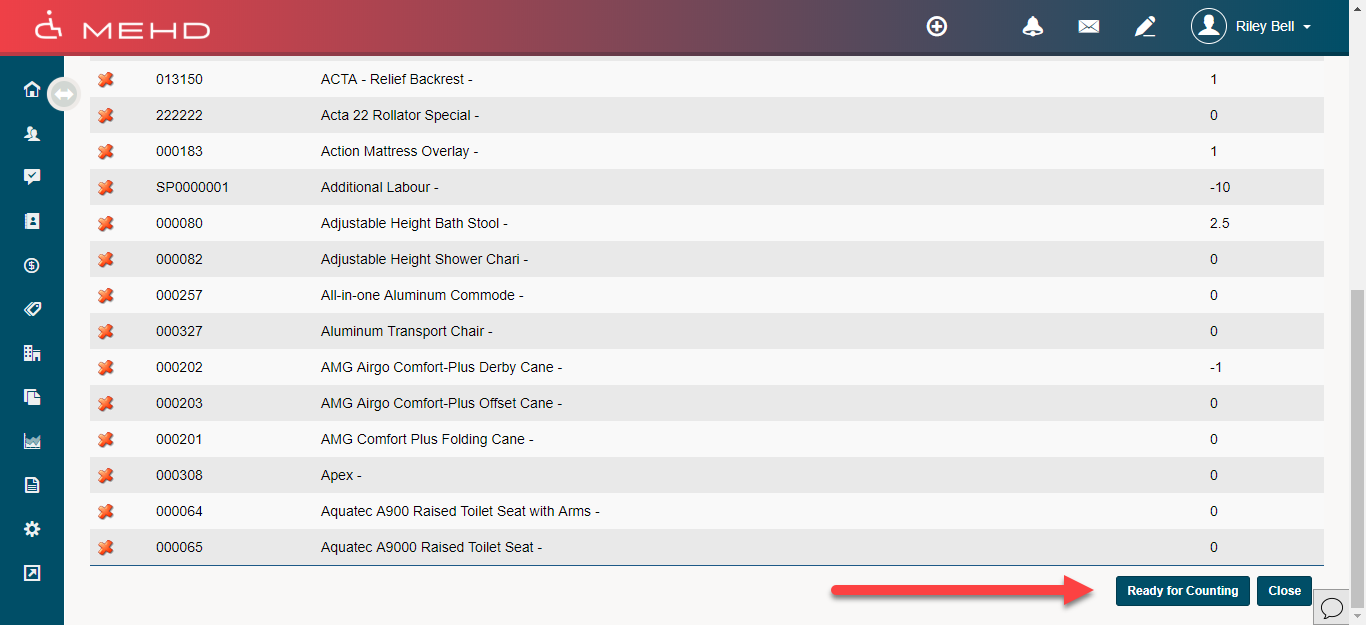
- At the bottom of the page click on the [Ready for Counting] button.
Step 2 - Start Cycle Count
Print Worksheets for Employees
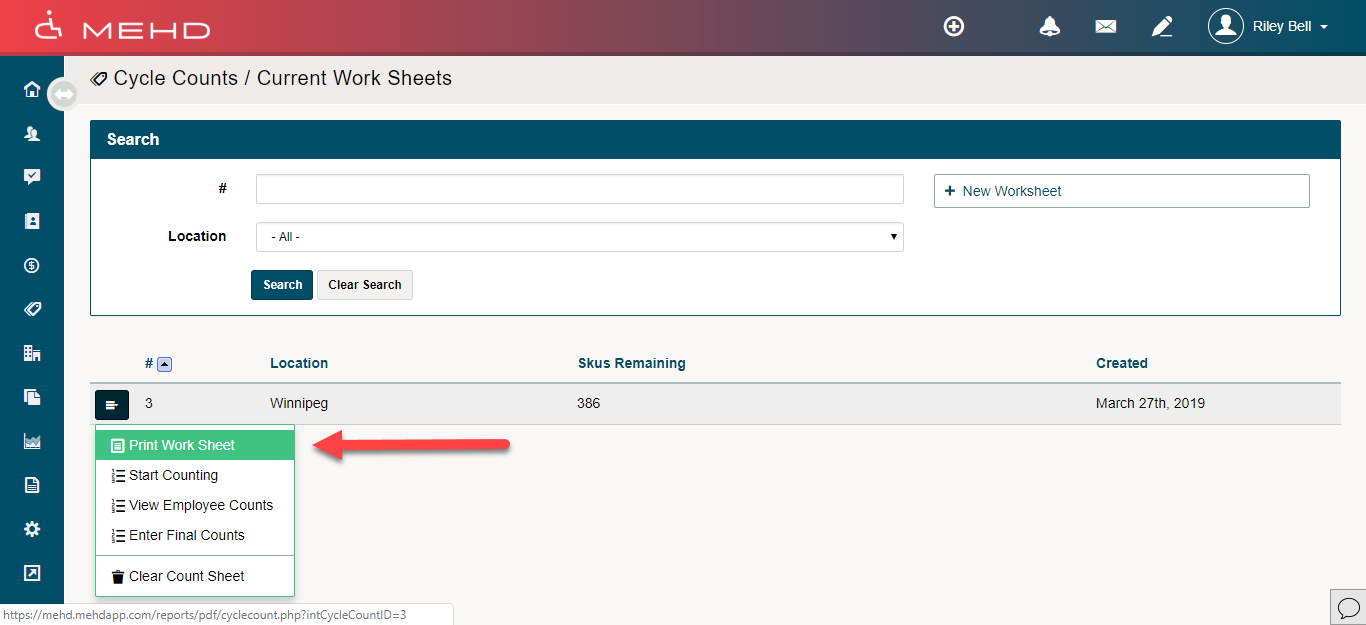
- Now that a Count Sheet is created you can select Print Sheets. This would only be needed if employees are completing a manual count of products and one person in entering in final counts of inventory.
- Inventory > Cycle Counts > Worksheet Menu > Print Work Sheet
- This allows you to create multiple different worksheets for employees and allow them to count the inventory all at one time.
Start Counting

- The next step is to select Start Counting in the blue menu to the left of the cycle count.
- On the count screen, the cursor will default to the SKU field. At this point, you may begin to scan barcodes.
- When a barcode is scanned the system will automatically find the SKU and within a one-second record and add a single count of the item to the quantity increasing the counted quantity by one.
- You can continue to scan barcodes at this point. It is recommended to check your screen from time to time to ensure you are finding an active SKU.
- If the system does not find an active or correct SKU you will see an Error recorded in the Detected Scan Error box
- As you count the quantities are automatically Saved. If you wish to stop counting temporarily you can press the Close button and then simply open the count sheet at a later time to continue.
- **As the counted quantities are automatically saved, Internet interruptions will not cause the count to be lost
- Upon completion of the counting, your next step is to view Employee Counts.
Note:
- In the event, a product is missing a barcode you can manually key in the product item number in the Lookup Partial SKU field. The system will lookup partial matching items and then allow you to select the item from the list. Once selected you can enter the counted quantity below.
Step 3 - View Employee Counts
- This step is not required however it does allow you to view an individual's counts prior to merging them in the Final Count
- A list of all products in the cycle count along with the names of employees and their counts can be viewed.
- If multiple employees are counting the same product, their counts will be totaled together and verified against the current 'Onhand' amount.
Step 4 - Commit Final Counts

- Once the counts are confirmed you can press the Commit Final Count button. This will update all product on hand based on the counted quantities.
- Entering Final Counts is the last step in the counting process. This step will merge all the employee count sheets for each SKU counted. At this step, you can modify the total quantity counted in the event an error is found prior to committing the counts.
- Red = Discrepancy in Count compared to the expected value
- Grey = No Discrepancy
- At the bottom of the Final Count screen, you have the ability to Print the Final Counts to review prior to committing the counts.
How to View Current Cycle Count Sheets
- Inventory > Cycle Counts
Clearing a Count Sheet
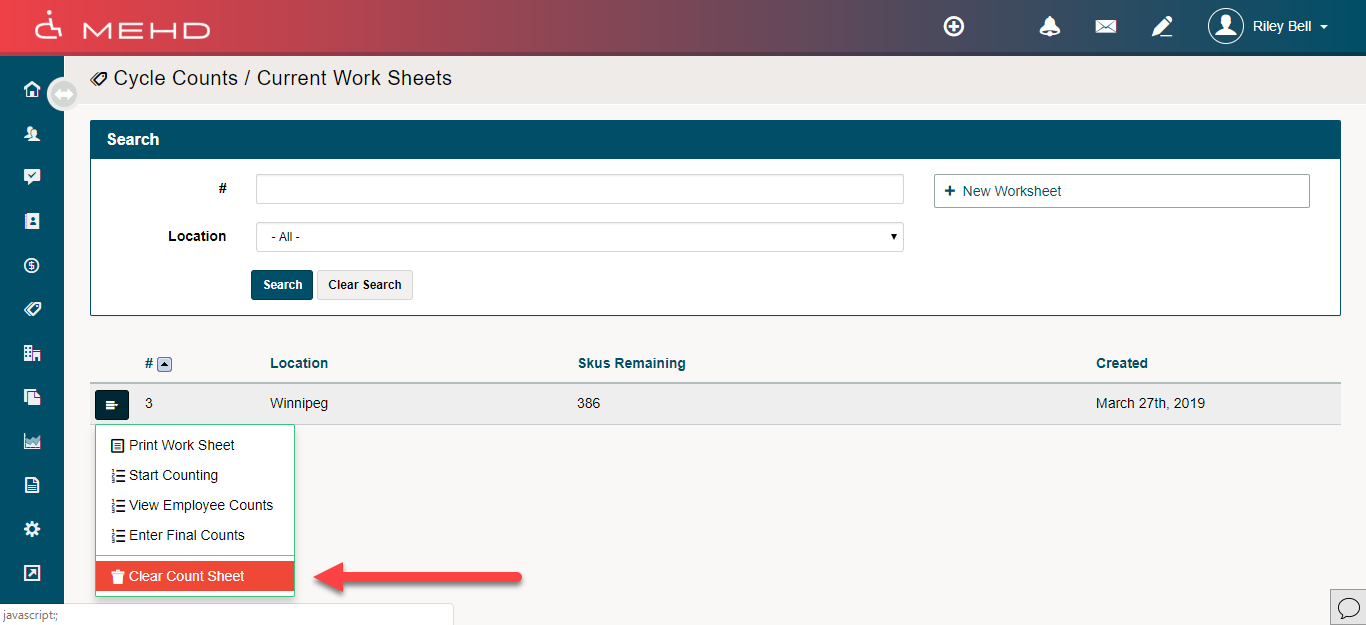
- On the list of 'Current Worksheets' click on the blue menu to the left of the worksheet #
- In the drop-down list, click on 'Clear Count Sheet'
- The count sheet will now be deleted
Comments
0 comments
Please sign in to leave a comment.