
Example:
If you were a hardware supply company, your vendors may include the Sawmill company that you purchase 2x4's off of, the window and door companies whose products fill your shelves and the furniture company that you purchase seasonal outdoor furniture from.
You would not only like to purchase directly from these vendors but you would like to keep track or purchase history, purchase orders, contacts, correspondence, delivery pricing, lead times, credit limits, brands and more. It's easy with Global Office Software's Vendor Module.
Actions:
1. Navigate to the Vendor Module
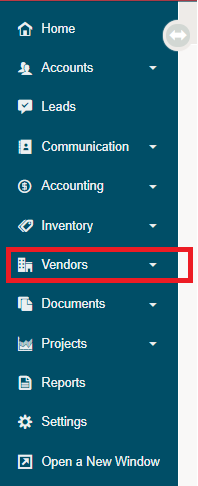
2. Click on (+New Vendor) in the top right-hand corner

3. Fill out the required fields in the tabs

4. Click the Apply button in the bottom right

5. New tabs will be populated, add additional information where needed
After you create a vendor the following tabs will become visible.
- Profile: Name, Address, Contact information etc. is found on this page.
- Addresses: A vendor may have more than 1 address. You can add all their locations within this section. Their region and province must be set up as you'll see drop-down menus to select from to complete the address information. If you need to add their region and province go to the "Settings" tab and select "Regions". Input the region and save then go to "Settings" and select "States and Provinces" then save.
- Accounting: If a vendor is permitted to have a credit limit you can enter it within this section. You will also be able to enter the number of days they have to pay.
- Contacts: You can read more details about adding contacts by selecting the "Contacts" link found in the "Contents" at the top of this wiki page.
- Conversations: You're able to log notes on conversations you've engaged in with a vendor in this section.
- Brands: You're able to add brands to the vendor profile by selecting "Add Brand". Select a brand from the drop-down menu and add notes then click "Save". You must have created brands to be able to select them from the drop-down menu. To add a brand go to "Settings" under the System Settings heading select "Brands" then "New Brand".
- History: The following additional tabs can be found when you select "History".
- Paybles
- Payments
- Voided
- Changes
6. Click Save
Comments
0 comments
Please sign in to leave a comment.