
Sometimes your customer might need a demo or trial product to test before they make a Sales Order or Invoice with your company.
This might be due to the customizability of the product, or from having direct competition loaning demo products to the customer as well.
Use Trials to not only keep track of inventory out on trial with a customer but the specifications (click here to learn how to set up specification templates) that they may need set up for the trial product as well.
Example
Wheelchairs - clients are often assigned to receive a new wheelchair from an Occupational Therapist. The therapist or caregiver sets up an appointment with potential dimensions and needs for the wheelchair.
One of your salespeople visits the client with differing wheelchairs that might best suit the needs of the customer. They log the specifications needed for the client in the specifications template and then make a request from the
Step 1 - Set Up Trial Details & Requirements
To create a new Trial, click on the Quick Create Button followed by clicking on Trial. It can also be accessed from inside the accounting module.
Be sure that you have trials turned on inside the module's settings (Click here to learn more about module settings).

A window with a new trial screen will appear, fill out the Details.

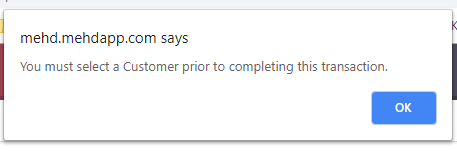
Note: if a customer/account is not selected then a pop-up will appear.
Once the details of the trial are added, then select the Trial Type, and then click on the [Add Equipment] to select the type of specification template that you would like the salesperson to fill out.

Select the Trial Type and the Equipment Type from the drop-down fields.
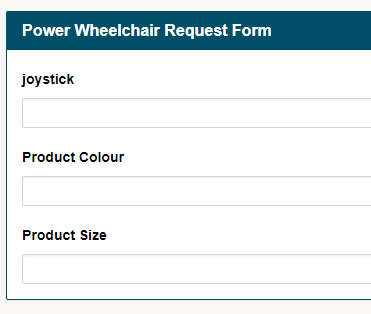
Fill out the fields in the Request form. These fields will be referenced to properly set up the product.
Assign the next step in the process to a service tech to set up the equipment. Type in the employee's name in the field and select their name from the drop-down list. Finish by clicking on the Send button.


Step 2 - Add Equipment from Inventory
The In-House Service Technician will then be able to see the answers to the Request Form filled out by the Salesperson. Using the answers, they will add items to the Trial Equipment form by clicking on the [Add Line Item] button.
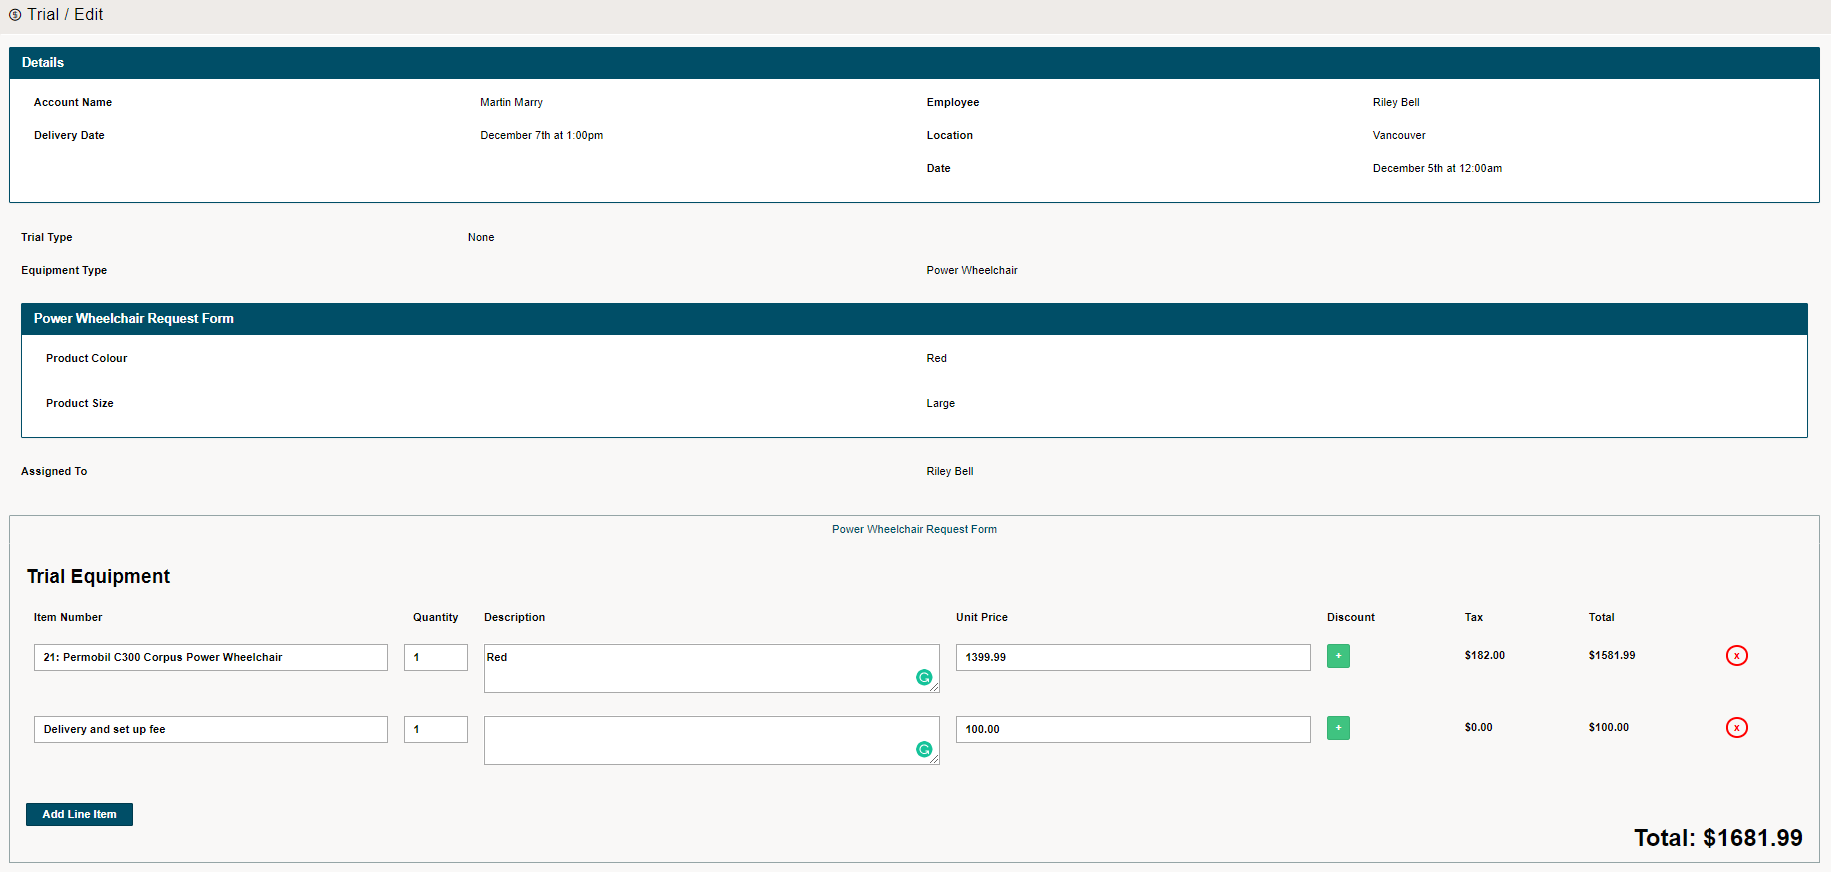
Similar to Quotes, Sales Orders and Invoices, they will fill in the Item Number or name of the Item. The Quantity, Description, Unit Price and Discount can all be changed.
Once the Service Tech has added all the items to the trial, and physically adjusted them it is time for a Quality Analysis check before the trial product goes out the door.
Step 3 - Quality Analysis Check
After completing the addition of products to the Trial, the Service Tech can then assign the product to be assured for Quality Analysis (QA).
The ensures that products are tested or inspected before they are delivered to the client. This could be as simple as making sure a power wheelchair has been charged, it has been cleaned, the breaking capabilities have been testing, and that the joystick has been tested with steering.
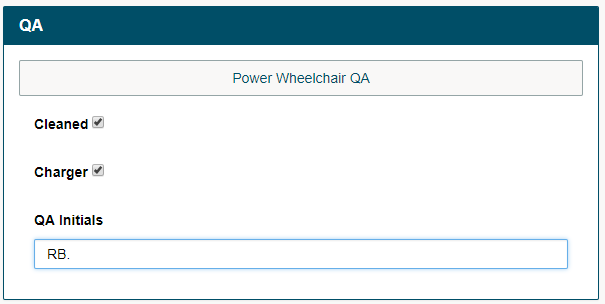
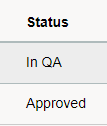
After the QA has been signed off on the status of the Trial will be set as 'In QA' to 'Approved'.
Step 4 - Follow Up
Once the QA processes have been completed, a follow up can automatically be created.
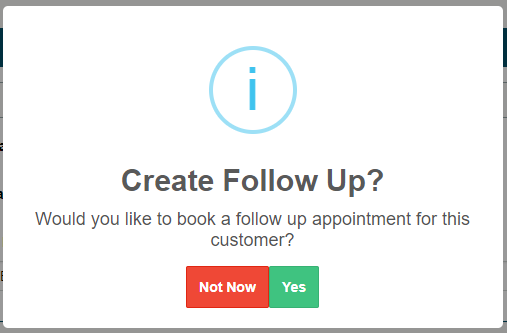
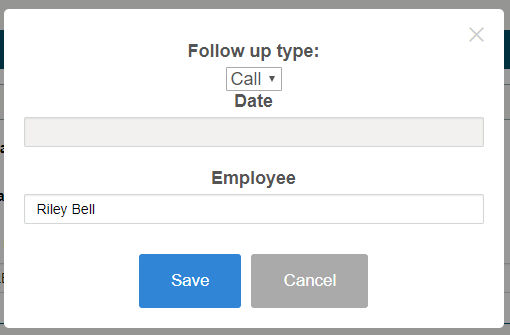
If a follow up is created from the follow-up, then a follow-up type, date, and employee must be selected. Once saved, it will push information directly to their dashboard.
Learn how to transfer a Trial to a Quote
Comments
0 comments
Please sign in to leave a comment.