
Vendor Classes are used to sort vendors for reporting and search purposes.
Example
Home Depot sources products from thousands of Vendors. They might use the following Vendor Classes to sort their vendors by type:
- Class A - Vendors with over $10 million in Purchase Orders
- Class B - Vendors between $1 million and $10 million in Purchase Orders
- Class C - Vendors below $1 million in Purchase Orders
- Class D - Vendors that are in development and negotiation stages
- Class E - Expired Vendors that they no longer do business with
Steps
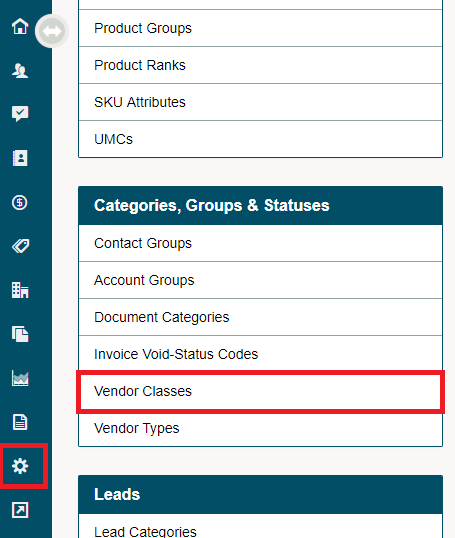
Go to the System Settings module then click on the Vendor Classes button located under the Categories, Groups & Statuses heading.
Click on the [+ New Vendor Class] button.

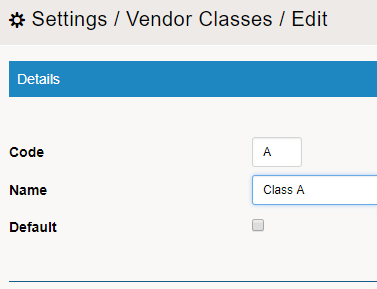
Give the new vendor class a (Code, Name, and click the checkbox if the vendor class should be listed on all new vendors). Finish by clicking on the [Save] Button.
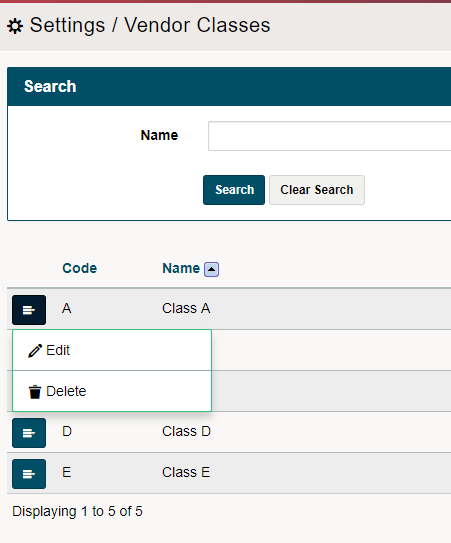
All new vendor classes added will be viewable. To edit or delete the vendor class click on the blue menu button beside the vendor class and then click on edit or delete.
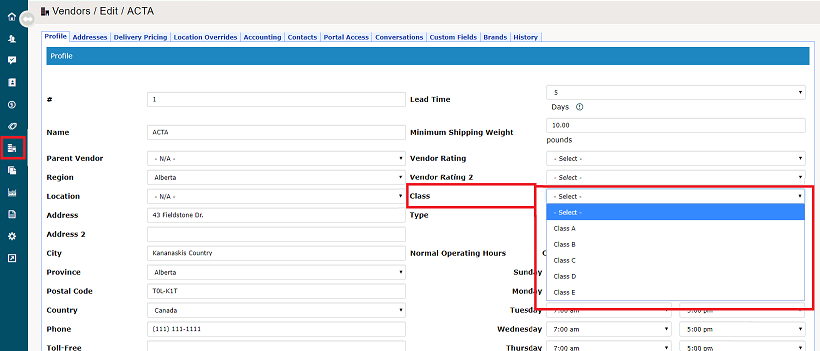
Inside of a vendors profile, click on the drop-down list beside the field named Class to select the Vendor Class.
Comments
0 comments
Please sign in to leave a comment.