
Your GO Business / MEHD system is smart when it comes to rental times.
Overview:
Example:
Mark says that he would like to rent a trailer for a month and pays upfront for the rental from Terry's Trailer Rentals. Mark uses the rental trailer but only ends up using it for three weeks. Terry's Trailer Rentals states that any unused time that was paid for will be refunded to the customer, in this case, one week's worth of payment at a monthly rate.
When Mark returns the trailer, Terry simply sees that one week worth of payment is due back to Mark. He checks the trailer back into rental inventory, and through the standard inventory, creates a refund for Mark.
He lists the rental # on the refund and punches the refund amount back into the payment terminal pin-pad.
Step 1: Check in the item
Hover over the Accounting Module, then hover over the Sales in the menu, then click on Rentals.
You can also access the rentals module by clicking on the Accounting Module, then on the Accounting page under the Sales & Invoicing heading, click on Rentals.

A list of all your rentals will appear. Use the search bar to search for rental you want to view or check-in.

Click on the menu next to the rental. In the drop-down menu, click on Check In Items.

A new rental window will appear with the rental items currently checked out. To check in rental items, choose to Check In Items button beside the rental item.

A new window will appear with the listed rental. Inspect the rental item and add any damaged or destroyed/missing rental values to the rental. Once finished, click on the [Confirm Checkin] button.

The rental item will now appear as Checked In and will be visible as On Hand when searching through rental products with serial numbers.

Finish the rental by checking in any additional items. When all items are checked in the rental will no longer appear on the rental list screen.
Step 2: Write a 'refund' through invoices
Write up a refund through invoices with reference back to the rental, including the rental number.
Please create a product called 'Rental - Refund' set at $0 inside of your regular inventory prior to using this functionality.
Go to the Accounting Module, then click on Invoicing.

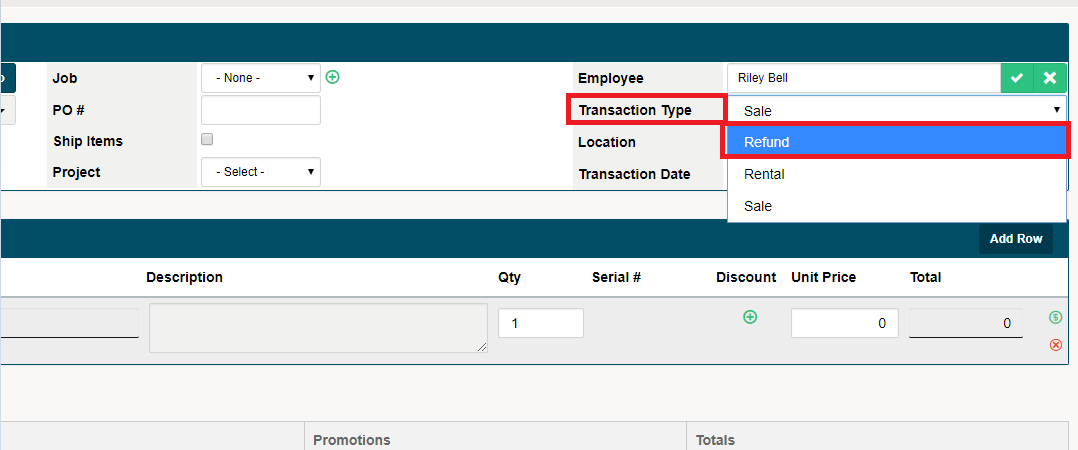
At the top right of the invoicing screen, change the Transaction Type to Refund.
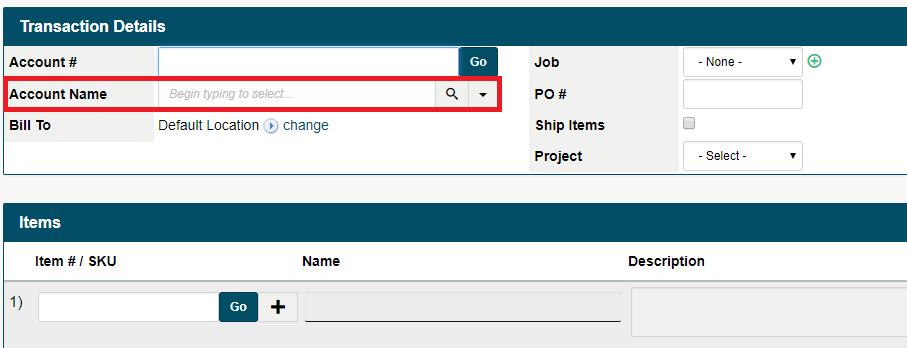
Choose the Customer/Account Name in the top left-hand corner.
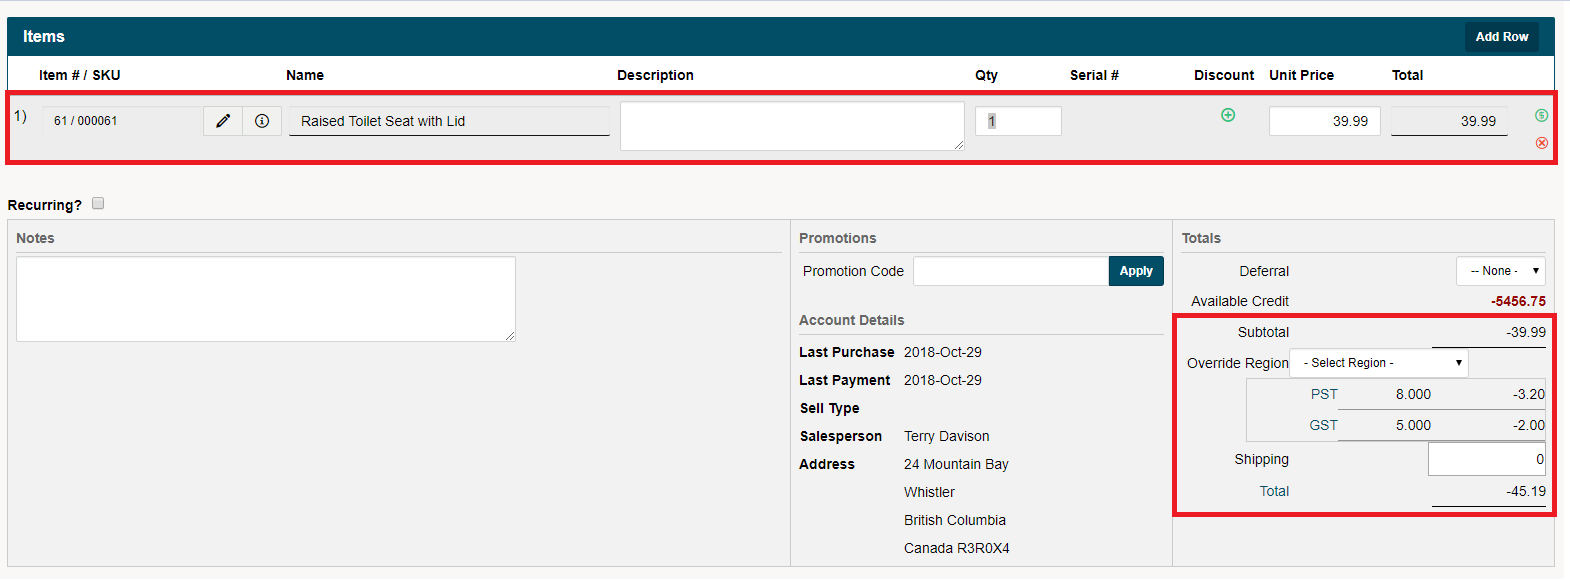
Enter the line items you want to refund by the name of the product or item number. It will appear just the same as making an invoice, the difference being in the Subtotal, Taxes, and Total amount. All of these amounts will appear negative showing a refund amount.
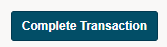
Finish by clicking on [Complete Transaction] located at the bottom of the page.
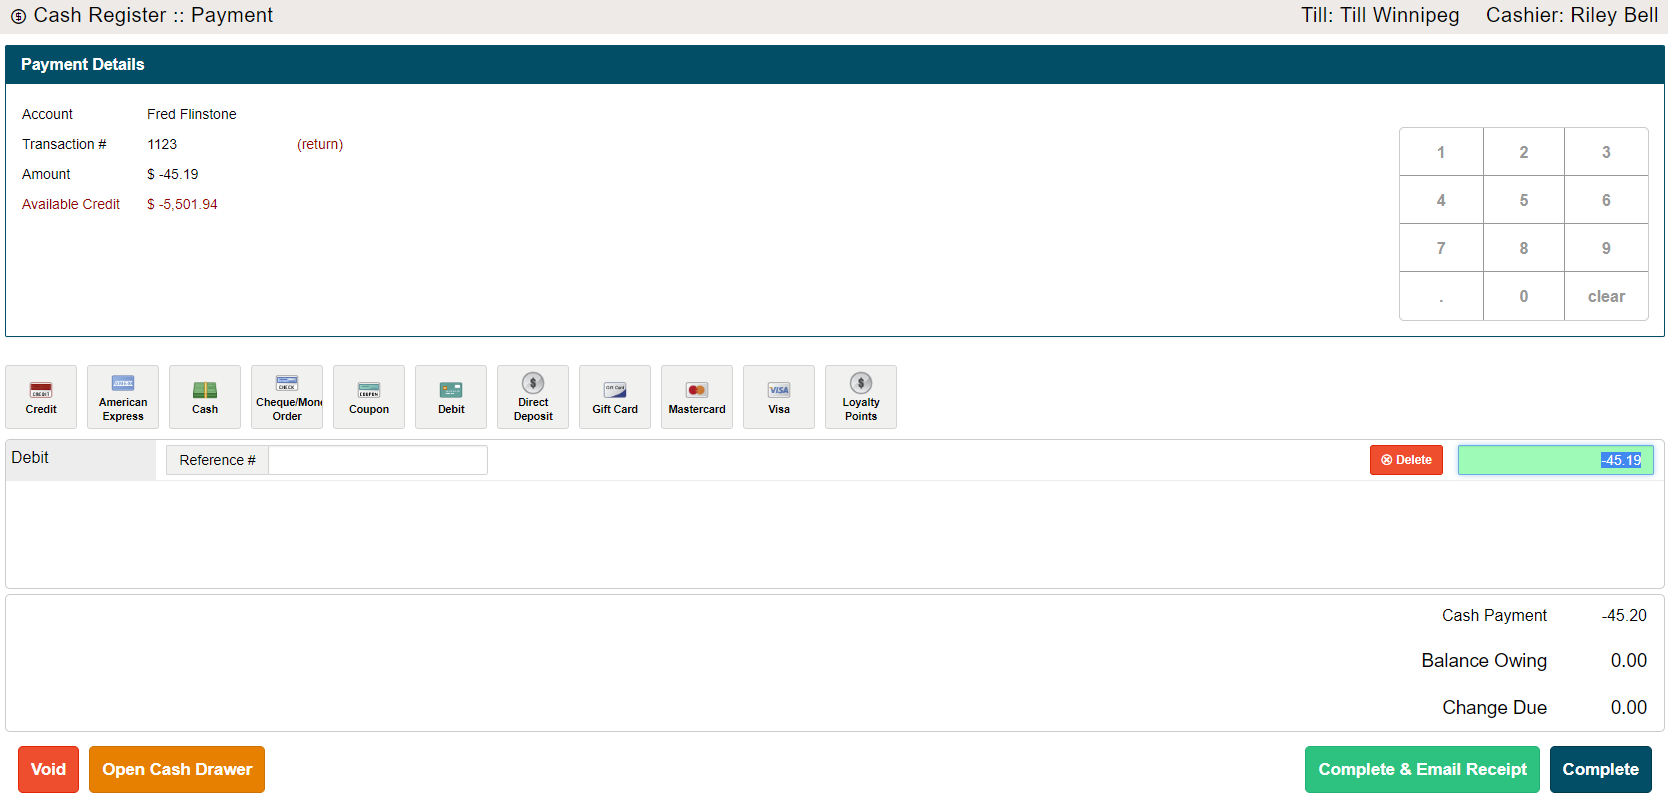
A Cash Register will appear. Type in the payment type (Cash, Debit, Visa, Master Card, etc.) and fill out the fields attached. Finish by clicking on (Complete, or Complete & Email).
Comments
0 comments
Please sign in to leave a comment.